
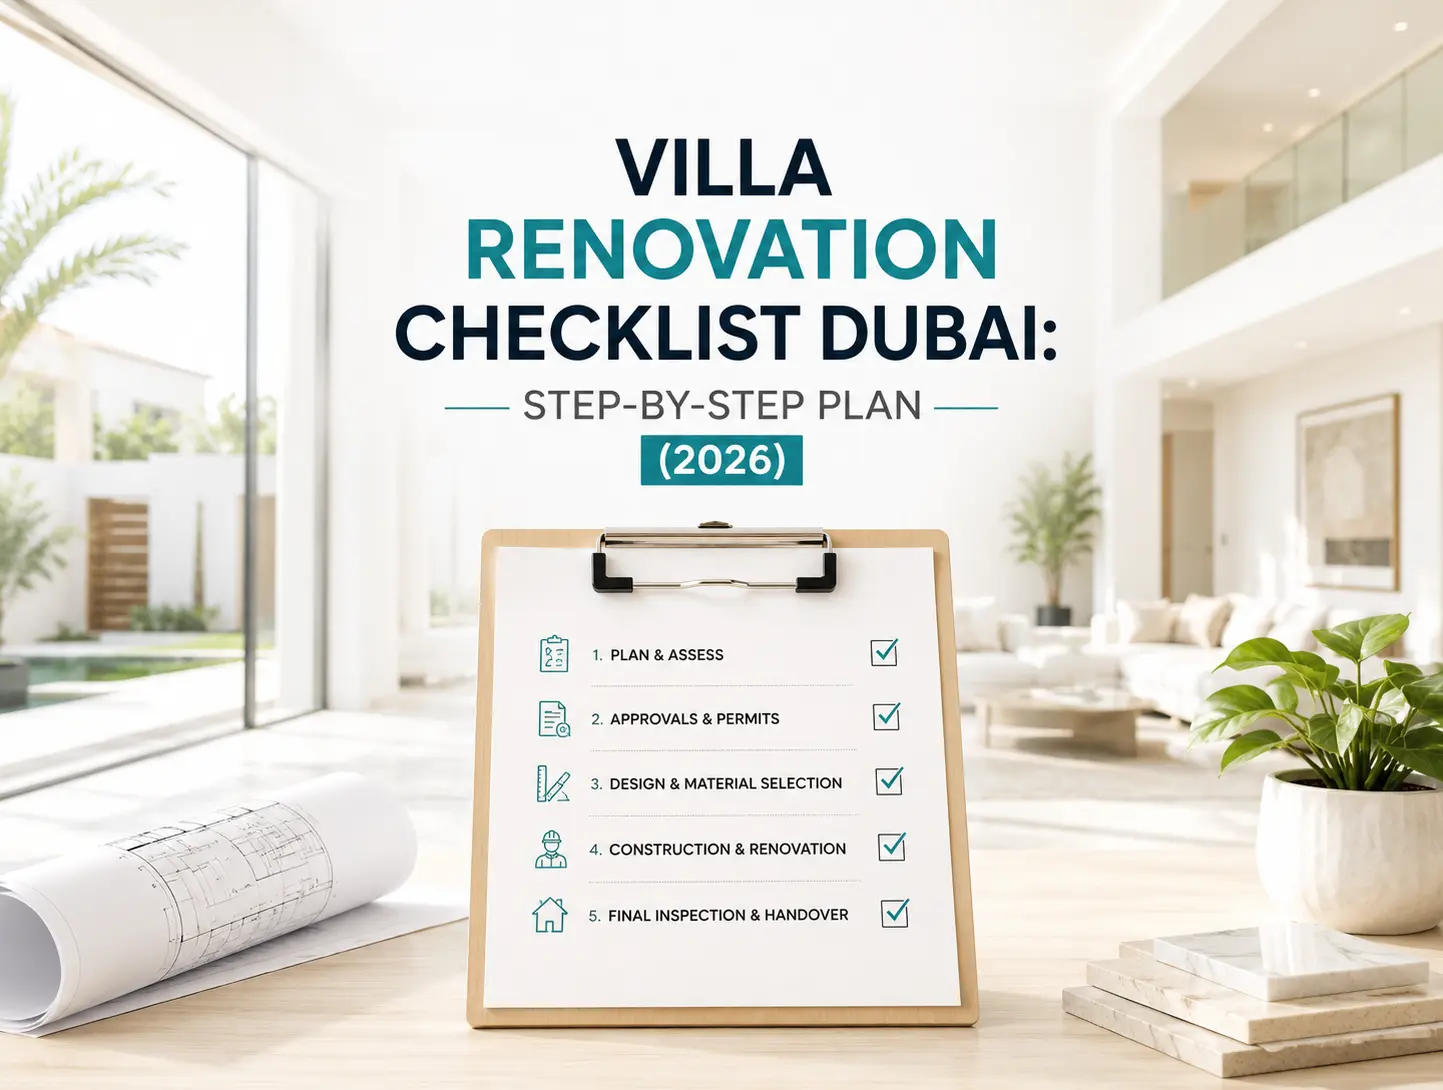
Villa Renovation Checklist Dubai: Step-by-Step Plan (2026)
Villa renovation checklist will help a successful villa renovation in Dubai . It rarely comes down to budget alone it comes with planning. Homeowners who skip steps in the process often end up with delayed approvals, unexpected variation costs, or finishes that don’t match what they envisioned. This checklist walks you through every stage of planning a villa renovation in Dubai, from your first decision to the final handover, so nothing gets missed.
If you’re still working out budget numbers, our villa renovation cost guide breaks down pricing per square foot. This article focuses on the planning and process side — what to prepare, what to ask, and what to avoid — whether you’re renovating a single bathroom or undertaking a full structural overhaul with an extension.
Think of this checklist as a roadmap you can follow in order. Each step builds on the one before it, and skipping ahead — for example, hiring a contractor before you’ve defined scope, or starting demolition before approvals are confirmed — is where most renovation headaches in Dubai originate.
Step 1: Define the Scope Before You Call a Contractor
Before reaching out to anyone, get clear on what you actually want changed. Walk through your villa room by room and note down:
- Which rooms need cosmetic updates only (paint, flooring, fixtures)

- Which areas need structural or layout changes
- Whether you’re considering a villa extension alongside the renovation
- Whether outdoor areas, gardens, or pools are part of the scope
- Your must-haves versus nice-to-haves, in case budget needs trimming later
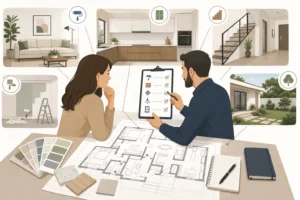
A clear scope document – even a rough one – makes every quote you receive more accurate and comparable.
Step 2: Check What Approvals You’ll Need
This is the step most homeowners underestimate. Depending on your community and the scope of work, you may need sign-off from one or more of the following:
- Dubai Municipality — typically required for structural changes, extensions, or major layout modifications
- Developer or community management (Emaar, Nakheel, Meydan, etc.) — many gated communities require NOC approval before any work starts, even cosmetic work in some cases
- Trakhees — for villas in specific free zones or Trakhees-governed communities
- DEWA — if electrical load requirements are changing significantly
Cosmetic-only renovations (painting, flooring swaps, fixture changes) usually don’t need formal approval, but it’s worth confirming with your community management directly rather than assuming. Approval timelines can range from a few days to several weeks, so factor this into your overall project timeline early — not after you’ve already started demolition.
It also helps to ask your contractor upfront which approvals they will handle on your behalf versus which ones require your personal sign-off as the title deed holder. Some NOC applications require the homeowner’s signature and Ejari or title deed documents, so having these ready in advance avoids last-minute delays once your contractor is ready to submit.
Step 3: Set a Realistic Budget With Contingency
Once you know your scope, get a sense of realistic pricing using a cost guide or by requesting preliminary quotes. Whatever number you land on, add a 10–15% contingency on top. Almost every renovation uncovers something once walls or flooring are opened up — old plumbing, hidden cracks, or outdated wiring — and a contingency buffer means this doesn’t derail your project.
Step 4: Shortlist and Vet Contractors Properly
This is where most renovation outcomes are decided. When comparing contractors, check for:
- A valid Dubai trade license — ask to see it, don’t just take their word for it
- A real portfolio of villa renovation projects — ideally similar in scope to yours
- In-house MEP and design capability — contractors who subcontract everything have less control over quality and timelines
- Itemized, BOQ-based quotations — vague lump-sum quotes are where hidden costs hide
- References or reviews from recent clients
Get at least two to three quotes before deciding, and make sure each one is quoting against the same scope document so you’re comparing like for like.
Step 5: Lock the Design Before Construction Starts
Once you’ve selected a contractor, resist the urge to start work before the design is finalized. Review:
- Layout drawings and any structural changes
- Material and finish selections (flooring, tiles, sanitary ware, kitchen specs)
- 3D visualizations if available, especially for layout changes
- MEP plans, particularly if you’re upgrading electrical, plumbing, or MEP systems as part of the project
Changes made mid-construction are one of the biggest causes of both delays and cost overruns. Locking the design upfront protects your timeline and your budget.
Step 6: Agree on a Payment Schedule Tied to Milestones
A milestone-based payment structure protects both you and the contractor. Rather than paying large amounts upfront, payments should be tied to completed stages — demolition complete, MEP roughed in, finishes installed, final handover. This keeps the contractor accountable to progress and gives you leverage if work falls behind schedule.
Step 7: Plan for Snagging and Final Handover
Before signing off on completion, walk through the entire villa with your contractor and create a snag list of anything that needs correction — paint touch-ups, tile alignment, fixture issues, or incomplete details. A reputable contractor will address these before final handover rather than treating the project as closed the moment major works finish.
Step 8: Time Your Renovation Around Dubai’s Climate
Timing matters more in Dubai than in many other markets. Exterior works — facade painting, roof waterproofing, landscaping, or pool work — are far easier to schedule and execute during the cooler months between October and April. Starting major exterior work in peak summer can slow down crews, affect curing times for certain materials like waterproofing membranes and paint, and extend your timeline unnecessarily.
Interior-only renovations are less weather-dependent, but if your project includes both interior and exterior scope, sequencing exterior work for cooler months while interior work continues year-round can keep the overall project moving efficiently.
Step 9: Plan Material Selection Early, Not at the Last Minute
Material lead times are one of the most overlooked causes of renovation delays in Dubai. Imported tiles, custom joinery, specific sanitary ware brands, or marble finishes can take several weeks to arrive, especially if they’re not held in local stock. Finalizing your material selections during the design phase — rather than waiting until installation is imminent — gives your contractor time to place orders and avoid gaps where the crew is on-site but waiting on materials.
If you’re unsure about finishes, ask your contractor for sample boards or showroom visits early in the process. Comparing physical samples under your villa’s actual lighting is far more reliable than judging tiles or paint colors from a catalogue or screen.
Step 10: Understand Who Manages What During Construction
Before work begins, clarify who your single point of contact will be throughout the project — a project manager, site supervisor, or the contractor directly — and how often you’ll receive progress updates. Renovations that involve multiple subcontracted trades without clear coordination are more prone to scheduling conflicts, miscommunication about scope, and finger-pointing if something goes wrong. A contractor with in-house teams across MEP, finishing, and project management can usually offer tighter coordination than one juggling several external subcontractors.
Common Mistakes That Derail Villa Renovations
- Starting demolition before approvals are confirmed
- Choosing the cheapest quote without checking material specs or scope
- Not budgeting any contingency for hidden issues
- Making design decisions on the fly, mid-construction
- Paying large sums upfront with no milestone structure
- Forgetting to plan for outdoor areas — if your renovation includes landscaping or pool work, sequence it alongside the main renovation rather than as an afterthought
- Underestimating material lead times for imported or custom finishes
How Smart Cities UAE Manages the Process for You
Smart Cities Building Contracting LLC has handled villa renovation projects across Dubai since 2008, from our base in Al Quoz. Our in-house team manages the full process — scope definition, BOQ preparation, approvals, design, MEP, and finishing — under one point of contact, so you’re not coordinating between multiple vendors or chasing approvals on your own.
Frequently Asked Questions
How far in advance should I start planning a villa renovation in Dubai?
For full renovations involving structural work or extensions, start planning 2–3 months ahead of your intended start date to allow time for design, quotation, and approvals. For smaller cosmetic projects, 2–4 weeks of planning is usually sufficient, mainly to finalize material selections and confirm contractor availability.
Can I make changes once construction has started?
You can, but it typically adds cost and time. It’s best to lock in design and material decisions before construction begins.
Do I need separate approval for landscaping or pool work?
In some communities, yes — particularly for pools or significant exterior changes. Check with your community management alongside Dubai Municipality requirements.
Plan Your Villa Renovation With Smart Cities UAE
Following a clear checklist is the single biggest factor in keeping a villa renovation on time and on budget. From scope definition and approvals through to material selection and final snagging, having an experienced contractor guide you through each stage removes most of the guesswork. Get a free site visit and a clear, itemized plan for your renovation. Contact Smart Cities Building Contracting LLC today.